

What Is a Floor Display? Formats, Design, and Retail Setup
In a crowded store, a new product or promotion has only a moment to catch a shopper’s eye. A floor display is a freestanding fixture on the sales floor that presents products beyond the regular shelf, giving your brand a clear place to stand out and making items easy to see and reach.
The right format depends on the product, promotion, and store plan. Displays also need accurate assembly and packaging so they arrive ready for store teams to place and stock. Explore the common formats, design choices, setup and placement considerations, and practical ways to measure results, including POS and POP display assembly services.
Key Takeaways
- A floor display is a freestanding retail fixture that gives products extra visibility beyond regular shelving, often in high-traffic areas or near an aisle end.
- Choose a format and footprint that fit the product, store layout, shopper flow, and retailer requirements. Keep aisles, accessible routes, and exits clear.
- Use clear messaging, a strong visual focal point, and visible products so shoppers can understand the offer and reach items easily.
- Plan for shipping and store handling, with accurate product counts and simple setup. POS and POP display assembly can help displays arrive ready to place and stock.
- Track sales lift, sell-through, placement, and display condition to identify what worked and improve future programs.
What Is a Floor Display in Retail?
A floor display is a freestanding unit placed on a store’s sales floor to hold and present products. Brands often use one to promote a launch, seasonal campaign, or limited-time offer outside the regular shelf arrangement. Its independent footprint gives the product a dedicated presentation area, while its location can help shoppers notice it during their normal trip through the store.
Floor displays fall under the broader category of point-of-purchase (POP) merchandising. POP refers to promotional displays placed where shoppers make buying decisions throughout the store. Point-of-sale (POS) usually refers to the checkout or payment area, although retailers and vendors sometimes use the two terms interchangeably. A display’s format and location matter more than its label.
How a floor display differs from shelves, endcaps, and counter units
Regular shelves hold products within their assigned category space. Shelf displays and add-ons remain attached to, or integrated with, that shelving. A floor display stands on its own, so it can give a featured product a separate footprint instead of adding another item to an already busy shelf.
An endcap describes a location, the exposed end of an aisle. A floor display describes a fixture type. Retailers may place a freestanding display near an aisle end, in an approved promotional area, or elsewhere in the store, depending on traffic flow and store rules. An endcap can also use existing shelving rather than a separate floor unit.
Countertop displays take up less space and sit on a checkout counter or another flat service surface. They suit compact products and quick add-on purchases, while floor units can hold a larger quantity or create a more prominent presentation. Each format needs to fit the product, available space, and retailer’s placement requirements.
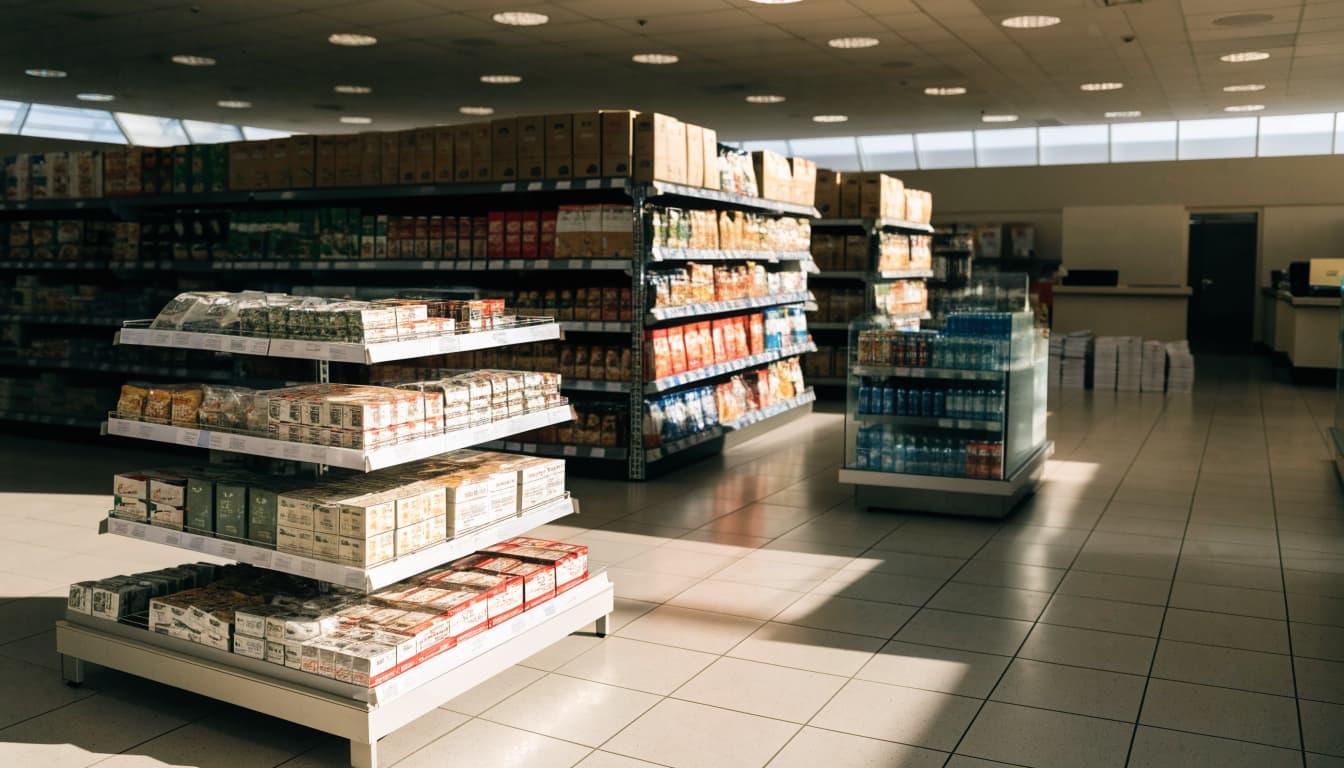
A floor display may arrive as separate components or in a ready-to-place format. For example, floor-ready POS displays are prepared to reduce setup work for store teams. Whatever the format, the display should be easy to shop and positioned without obstructing aisles, accessible routes, or exits.
Which Floor Display Format Fits the Product?
The best floor display fits the product’s size and weight, the quantity you need to show, and the space the retailer can give you. Also consider how the display will reach the store and how much setup store teams can manage. A compact stand can suit a small assortment, while a pallet format can handle a larger promotion.
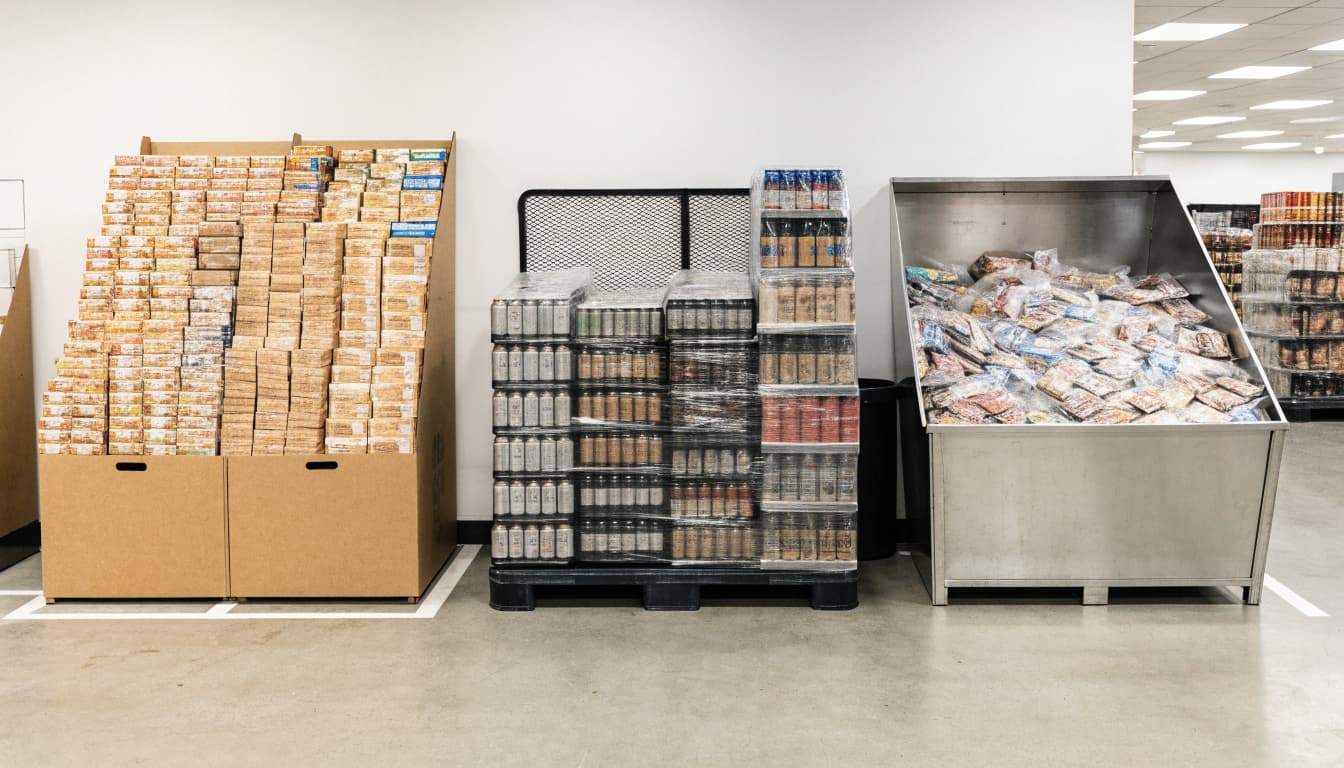
Floor stands, pallet displays, and case stackers
Freestanding floor stands use shelves, trays, or hooks to keep products organized and visible. They work well for packaged goods shoppers can select individually, such as skincare, books, or small snack boxes. Because stand sizes vary, a narrow unit may fit a limited promotional area better than a full pallet display.
Pallet displays and case stackers are built for larger quantities. A pallet base supports heavier or bulkier stock, while stacked cases can make the product easy to replenish during a promotion. These formats often suit club stores and other high-volume campaigns, where stores can sell directly from the display. However, their footprint and weight need to match retailer requirements and available floor space. Explore custom pallet display options when planning a promotion around pallet quantities.
Shippers and dump bins for fast-moving promotions
A shipper is display packaging designed to travel with the product and go into the store as a retail fixture. Some arrive pre-packed or with simple setup steps, helping staff move the product onto the sales floor quickly. Shippers can work for launches, seasonal items, and smaller packaged products, especially when the package itself can hold and present the merchandise neatly.
Dump bins are open containers that let shoppers browse individually packaged items. They can suit small snacks, toys, or seasonal goods that customers can pick up easily. Since products sit loose inside the bin, this format is less suited to items that need orderly facings, careful stacking, or added protection.
Before selecting a format, compare its capacity, footprint, and expected use with the product and store plan. The right fit should keep merchandise accessible and presentable without taking more space than the promotion can support. Also account for packing order and product counts, since an accurate pack-out helps the display arrive complete and ready for placement.
Why Brands Use Floor Displays to Attract Shoppers
A floor display gives a product a separate presence beyond its regular shelf, where it can catch shoppers who might otherwise pass by. Brands use these fixtures to spotlight promotions, support product discovery, and make related items easier to shop. The results depend on the product, design, and retailer-approved placement, so a display can encourage purchases but can’t guarantee them.
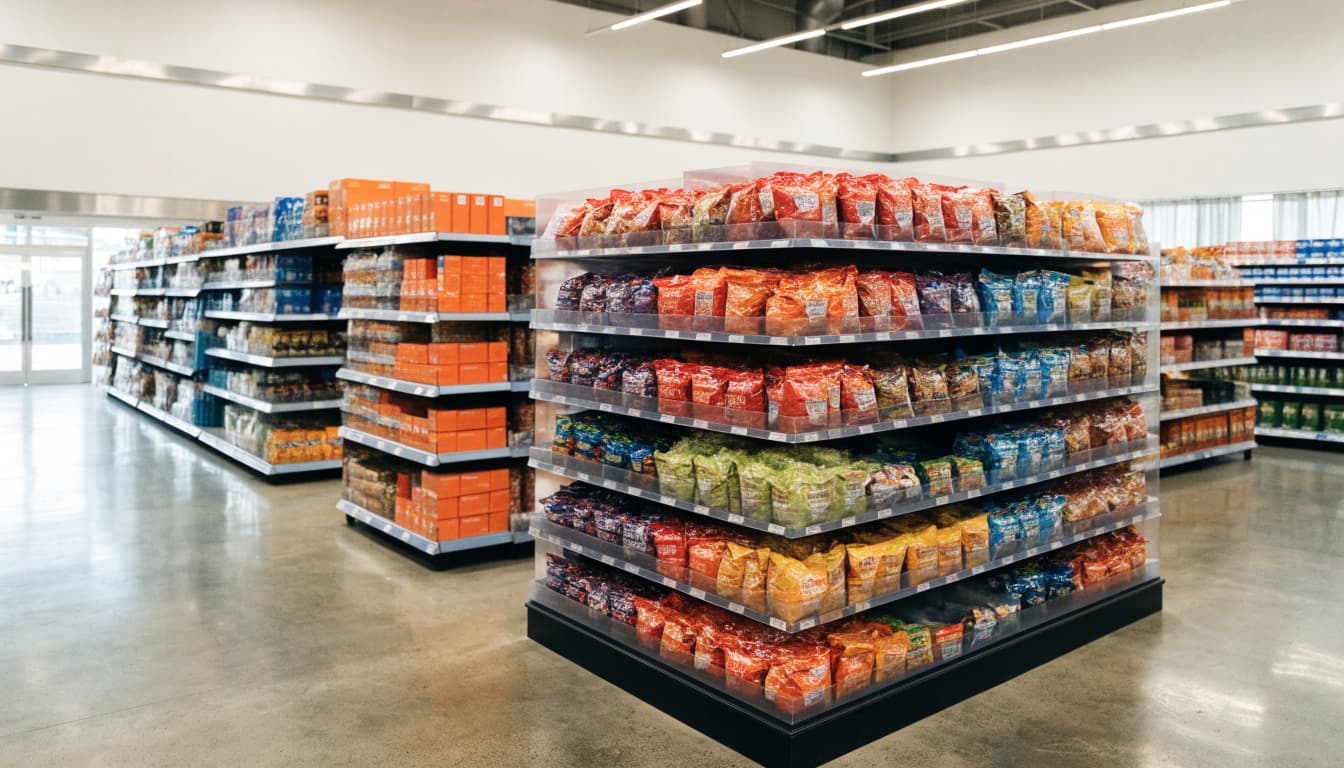
Make new products and limited-time offers easier to notice
A new item can get lost among familiar products on a busy shelf. A freestanding display creates a dedicated spot for shoppers to notice it, while prominent graphics and visible products help communicate what’s being offered. Consistent brand colors and design can also make the product easier to recognize across future store visits.
This extra visibility can be useful for launches, seasonal campaigns, and limited-time promotions. For example, a snack brand might propose a display near the grocery store’s snack aisle to highlight a new flavor or holiday assortment. The retailer decides whether that location is available and appropriate, so brands should plan around approved placements rather than assume a specific spot.
Displays can also make an offer easier to find while shoppers browse. A clear price or promotion message helps people understand the deal at a glance, and accessible products reduce the effort needed to pick one up. That combination may encourage an unplanned purchase, though results vary with the store, product, and campaign.
Help shoppers find, compare, and pick up products
A well-organized display answers basic questions quickly: What is the product? Which option should I choose? How do I reach it? Arranging products by flavor, size, or type can help shoppers compare choices without searching through a crowded shelf. Keep the most important message easy to spot, and make sure products remain visible and within reach.
Grouping complementary items can also support cross-selling when the products and message fit together. For example, a display might pair snack packs with related products for an occasion or meal. Shoppers can see the connection and consider adding another item, but an assortment that feels unrelated can make the display harder to understand.
A floor display works best when its organization supports the shopper’s decision rather than adding clutter. Brands planning a rollout can coordinate retail display assembly services to help keep the presentation consistent and ready for store placement.
What Makes a Floor Display Easy to Notice and Shop?
A floor display has a brief window to catch a shopper’s attention, then a few seconds to make the product and offer clear. Good design balances visibility with practical details: shoppers should see the merchandise, understand the message, and reach products without awkward handling.
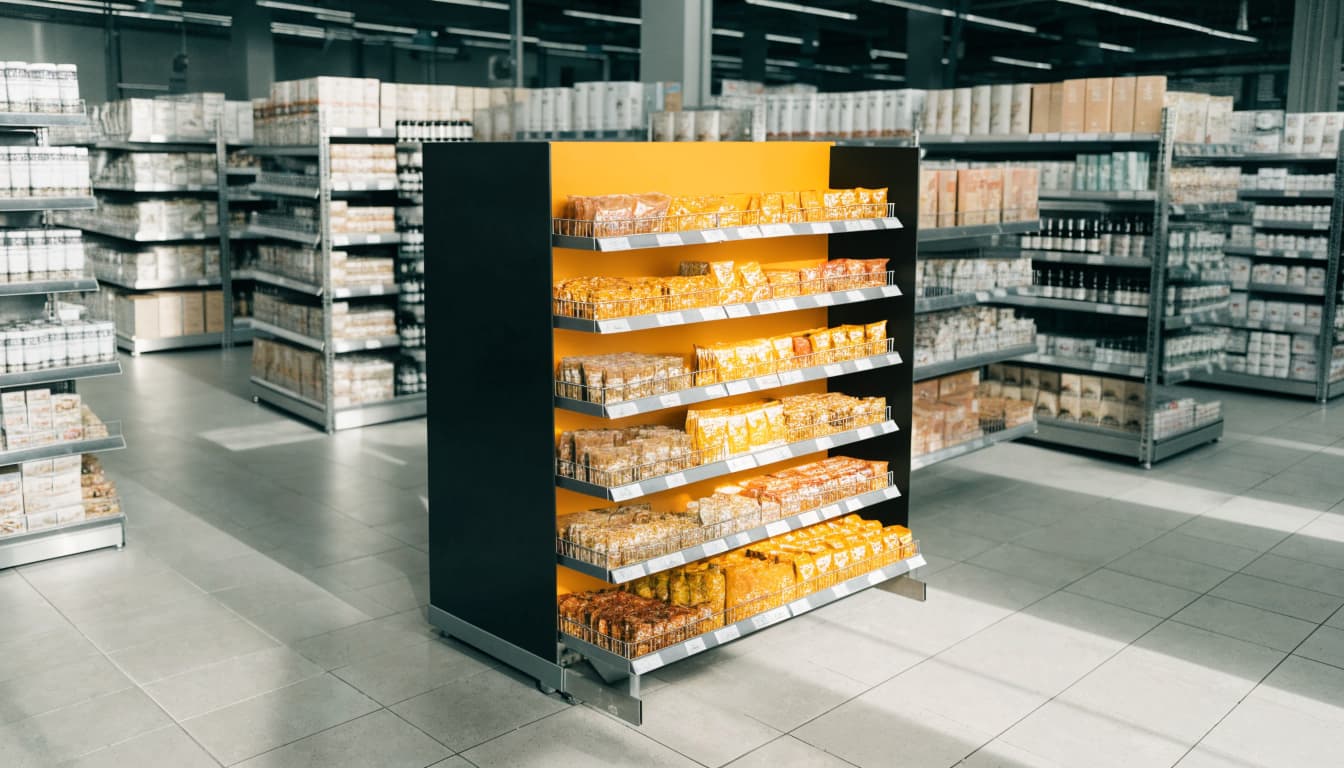
Use bold graphics and a message shoppers can read quickly
Give the display one clear focal point, such as a hero product image, a prominent package, or a short headline. Use large, readable type and strong contrast so shoppers can understand the offer while walking past. Brand colors help the unit stand out, but the palette should support the message rather than compete with it.
Keep copy concise and focused on one benefit, promotion, or product feature. If the headline, price, product image, and extra claims all demand equal attention, shoppers have to work out where to look first. That visual clutter can make the display harder to understand, especially in a busy aisle where people are moving and pausing only briefly.
Product visibility matters as much as graphics. Arrange packages so shoppers can see what they are choosing, then group flavors, sizes, or related items in a logical order. Open trays and clear shelf fronts can help, while tightly packed rows or tall headers may hide merchandise.
Match the structure and materials to the product load
Set shelf or tray spacing around the product’s dimensions and weight. Shoppers should be able to remove an item without shifting nearby packages or reaching over a tall stack. Choose a height that gives the display a visible presence while keeping products accessible; the right dimensions depend on the store, placement, and shopper flow.
Corrugated cardboard and paperboard are common choices for temporary campaigns because they can support printed graphics and suit short-term use. For heavier products, longer promotions, or frequent handling, consider plastic, wood, metal, or a hybrid structure. No material is automatically best. Weigh product load, campaign length, shipping and handling, retailer requirements, and cost before choosing.
A stable base, reinforced shelves, and secure connections help the unit stay upright as shoppers take products and staff restock it. Also keep the display out of accessible routes. ADA guidance sets a 36-inch minimum clear width for accessible routes, so confirm the store layout and placement requirements before setup.
When the design and build need to work together, POP and POS retail display packaging can support consistent product arrangement and presentation.
How Floor Displays Are Packed, Shipped, and Set Up
A floor display’s path to the sales floor starts with the product mix, format, and retailer’s setup plan. Those decisions shape how the unit is assembled, packed, shipped, and placed in the store.
Plan for accurate assembly and retail-ready packing
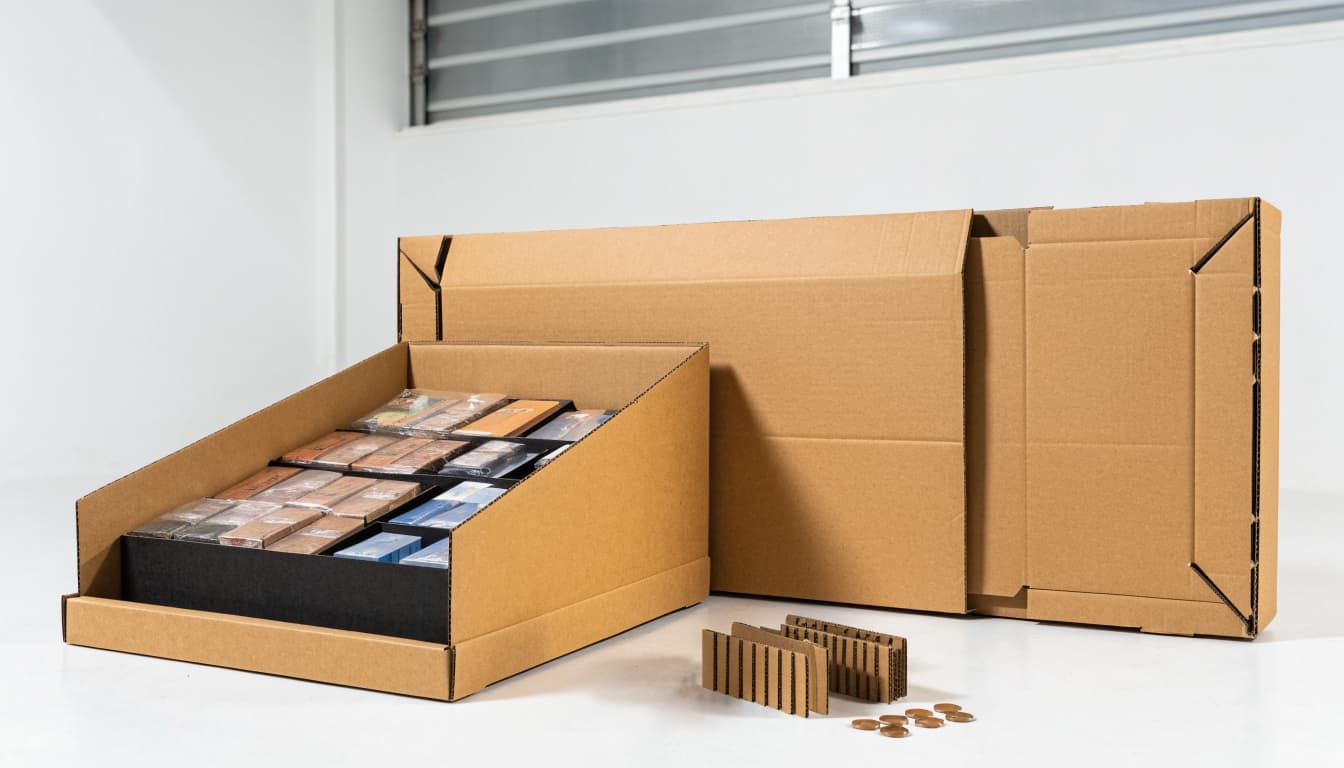
First, match the display structure to the products and how stores will handle it. A small unit may need precise folding, clean glue points, and neatly arranged items. A pallet display needs stronger reinforcement and stable stacking because it may be moved with a pallet jack.
Next, choose how the display will ship. Flat-packed units take up less freight space, but store staff must assemble them and verify the parts. Fully assembled displays can reduce setup time and help maintain a consistent presentation, but their larger shipping footprint needs more freight and handling protection. Shelf shippers, meanwhile, arrive ready for placement on a store shelf.
Before packing, confirm the product count, component list, pack order, and retailer instructions. Check that graphics sit straight, products face the intended direction, and the load stays stable. Secure the contents and protect corners and panels so the display can withstand shipping and handling without arriving bent or disorganized. POS and POP display assembly services can help brands prepare units consistently and reduce avoidable rework for brand and retail teams.
Check store rules before choosing size and placement
A display that looks strong in a mockup still needs to fit the retailer’s approved space. Confirm the footprint, height, load limits, receiving requirements, and whether the store expects a fully assembled, partially assembled, or flat-packed unit. Clear setup instructions should show the assembly order, product placement, and any parts store staff need to attach.
Before placement, check aisle clearance, shopper access, and the path staff need to move and stock the display. U.S. ADA standards generally require accessible routes to have at least 36 inches of clear width, subject to limited exceptions. Retailers may set additional requirements for placement, safety, and traffic flow.
Finally, position the display only in an approved location, keeping accessible routes, exits, and store equipment clear. A quick inspection after setup can catch loose components, uneven loading, blocked products, or misaligned graphics before shoppers encounter the display.
How to Choose a Floor Display and Measure Its Results
Start with the campaign goal, then check whether the display can support the product, store, and budget. A floor display designed for a short seasonal promotion may need a different structure than a long-running unit or one holding a heavy, varied assortment. Decide what success means before approving the design, so the format and measurements serve the same purpose.
Match the design to campaign goals, product, and budget
Work through the practical requirements first: product size and weight, quantity, store type, available footprint, promotion length, material needs, shipping plan, and retailer rules. A compact grocery display has different demands than a large club-store unit, and both need to fit approved placement and shopper traffic.
For a brief promotion, lightweight materials and simple assembly may be enough. A longer campaign or heavier product load may call for a more durable structure, reinforced shelves, or replaceable graphic panels. In either case, keep products visible and easy to restock.
Compare the full program cost, not just the display’s unit price. Include design, materials, assembly, freight, protective packaging, and store labor. A lower-cost unit can become more expensive if it ships inefficiently, takes too long to build, or needs frequent repairs. Teams planning packing and store setup can also review retail packaging services when comparing production and fulfillment needs.
Use sales and store feedback to improve the next display
Choose two or three measures that fit the campaign, and set them before production. For a trial campaign, promoted-product sales and sell-through may matter most. For a complex floor stand, setup time, compliance, and days on the floor can be more useful.
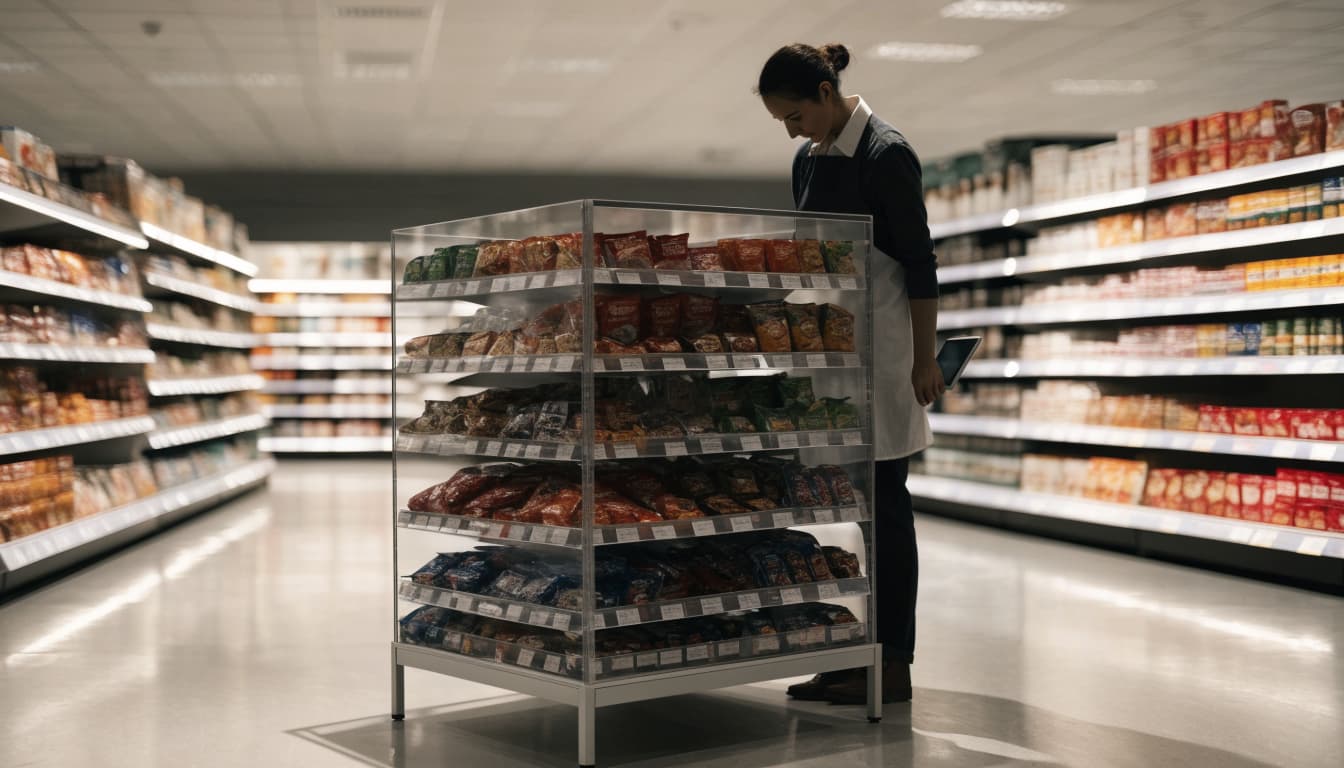
Compare results with pre-promotion sales or similar stores without the display when possible. Track units sold, sell-through, setup effort, restocking, damage, and whether the display stayed stocked and shoppable. These comparisons help explain results without assuming every store or campaign will produce the same sales lift.
Ask store managers and field teams for brief, direct feedback. Photos from setup, mid-promotion, and the end can show whether graphics were blocked, products were hard to reach, or the structure became unstable. Record the location and condition, too, since a display tucked out of sight may perform differently than one in an approved high-traffic area.
After the campaign, summarize results against the original measures. A small pilot across selected stores can test the structure and setup plan before a wider rollout. Save the findings so your next display starts with evidence, not guesswork.
Frequently Asked Questions
Where are floor displays usually placed?
Retailers may approve floor displays for high-traffic aisles, store entrances, aisle ends, or designated promotional areas. The location should suit the product and campaign while keeping accessible routes, exits, and shopper pathways clear.
Can a floor display arrive ready to place in the store?
Yes. Depending on its design, packaging, shipping plan, and the retailer’s requirements, a display may arrive flat for in-store assembly or fully assembled for placement. Pre-assembled units can reduce setup work, while flat-packed displays may take up less space during shipping.
Which materials are used for floor displays?
Common materials include corrugated board, paperboard, plastic, wood, and metal. The right choice depends on the product’s weight, how long the display needs to last, and the handling it will face during shipping, stocking, and shopping.
Are floor displays reusable?
Some are, but reuse depends on the material, build quality, campaign needs, and the unit’s condition after handling. Durable or modular displays may suit multiple campaigns, while temporary corrugated units may be designed for a single promotion rather than repeated use.
How can a brand tell whether a floor display worked?
Compare promoted-product sales or sell-through with a suitable baseline, such as pre-promotion results or similar stores without the display. Then review setup, product access, display condition, and store feedback to understand the results. For a broader view, track whether units were placed on time and how many days they stayed shoppable.
Conclusion
A floor display is a freestanding fixture that gives products a visible, easy-to-shop place beyond regular shelving. Its effectiveness depends on more than appearance: it needs a clear purpose, noticeable design, a structure suited to its product load, and practical setup.
Before launch, confirm the display fits the retailer’s rules and store layout. Afterward, review sales, sell-through, placement, and store feedback to see what worked. Accurate assembly and packing can help products arrive organized and retail-ready, supporting a consistent presentation on the floor.
