
How Retail Displays Turn Marketing Strategy Into In-Store Action
In a busy store, shoppers often make decisions in seconds, and your product has only a brief chance to earn their attention. Retail displays can do more than hold products: they connect a campaign to the moment someone is ready to buy, make an offer easier to understand, and help your team support sales goals.
A display that draws attention doesn’t automatically drive sales. Its placement, message, and ease of use all matter, as does whether store staff can set it up and keep it stocked. In the sections ahead, we’ll look at display choices, shopper experience, ways to measure results, and store-level execution, including POS and POP display assembly services.
Key Takeaways
- Retail displays turn campaign goals into in-store cues that guide shoppers to products, promotions, or complementary items.
- Placement must fit the shopper and store context; attention alone doesn’t guarantee purchases.
- Clear messaging, organized products, and easy access help shoppers understand an offer, while floor-ready formats reduce setup work.
- Accurate assembly, complete components, and on-time shipping support consistent presentation across locations. Retail display assembly services can help prepare units for store placement.
- Measure execution and sales together, using store photos or compliance checks alongside POS comparisons between display and control locations.
How Retail Displays Enhance Your Marketing Strategy
Retail displays turn brand goals into practical in-store touchpoints. A campaign may introduce a new product, explain a benefit, or promote a seasonal offer; the display puts that message where shoppers can notice it, understand it, and act on it.
Capture attention at the moments shoppers decide
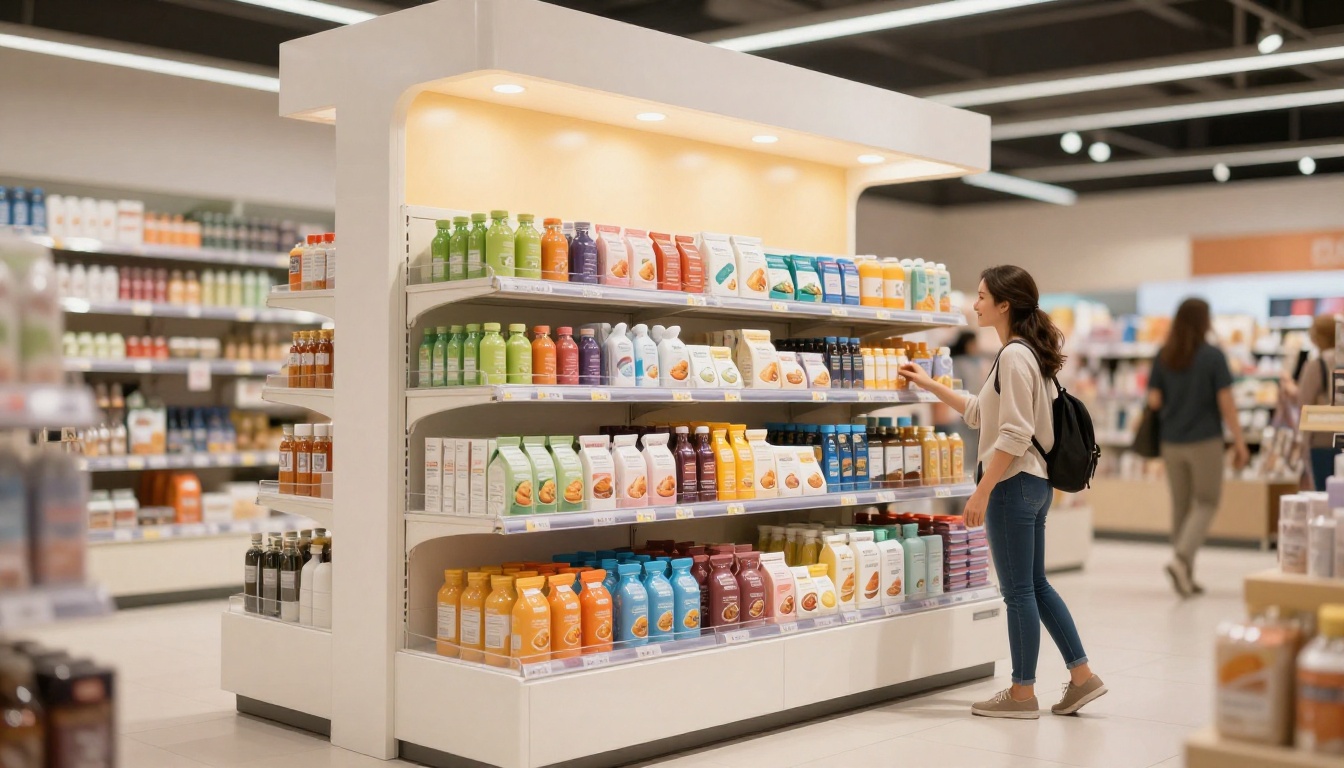
Placement helps a display meet shoppers at useful points in their trip. Entrances offer early visibility, while aisle ends put featured products in view as customers move between categories. Checkout zones can give small, easy-to-grab items a final chance to catch attention. Within a relevant category aisle, a display can reach people already considering a related purchase.
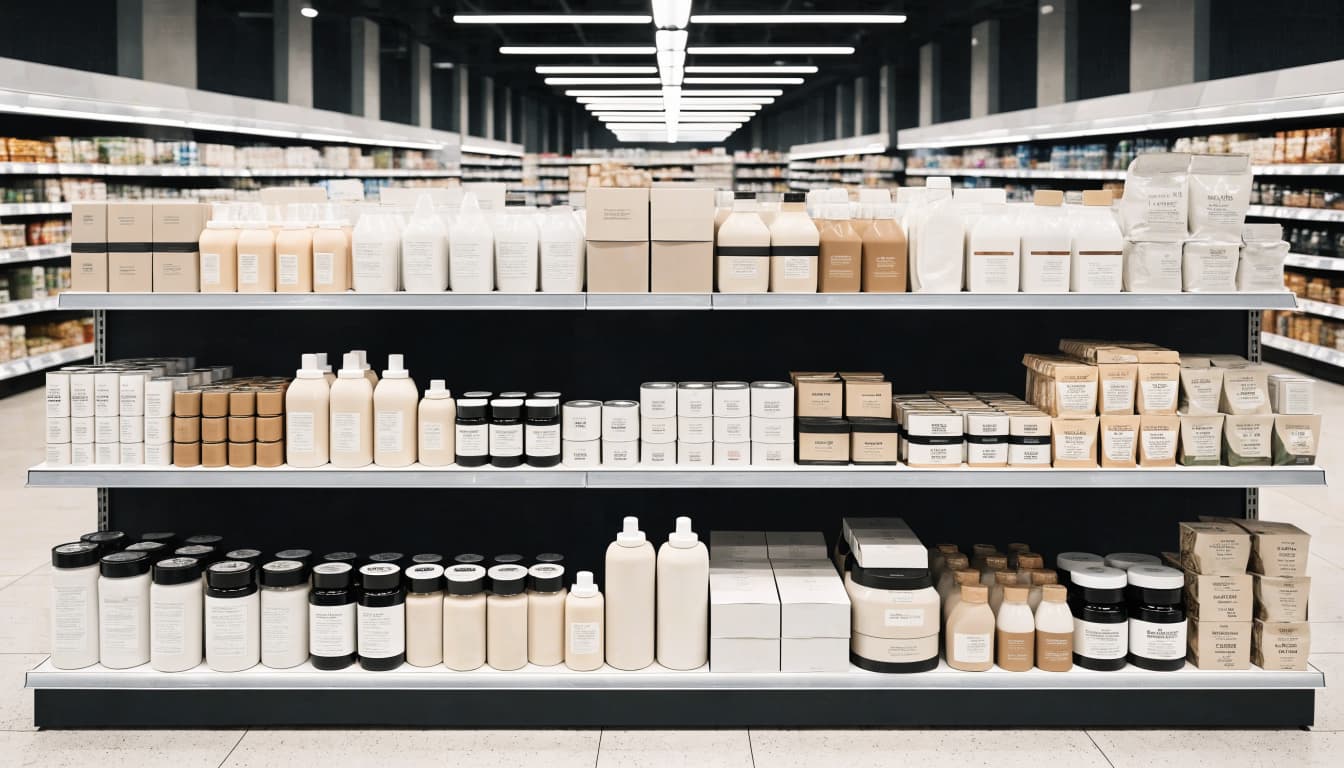
However, a busy location alone does not make a display effective. Shoppers scan quickly, so the design needs a clear visual order: a prominent product or image first, a short headline next, and supporting details after that. Strong contrast helps the main elements stand apart from surrounding shelves, while a single focal point keeps the display from competing with itself. Keep the headline brief enough to understand at a glance, even while walking.
Placement should also fit the store and the shopper. An energy drink display near fitness products, for example, may feel more relevant than one placed in an unrelated aisle. When the location matches the product’s use, the display supports discovery without disrupting the shopping trip.
Make products easier to choose and add to the basket
Once a shopper notices a display, the next step should be simple. Keep products visible and within easy reach, and show prices and offer terms where shoppers can find them quickly. A short, specific promotion is easier to assess than a collection of competing claims. Clear product arrangement also helps people compare sizes, flavors, or formats without searching through a crowded unit.
Grouping related items can make the display more useful. Coffee and filters, chips and salsa, or sunscreen and after-sun care are examples of products shoppers may want together. A bundle or cross-promotion can point out that connection and make additional items easier to find. This may encourage shoppers to consider a larger basket, but the display should still make each product and its price clear.
Easy access matters after setup, too. If products are awkward to reach or the unit is difficult to restock, shoppers may encounter empty spaces or a disorganized presentation. Brands can plan assembly and product grouping together through retail display kitting and assembly, helping align the intended presentation with store-level handling.
Build brand recall through consistent presentation
Repeated use of brand colors, logos, product images, and plain-language benefits helps shoppers recognize a campaign across different stores and formats. When a display looks familiar beside an ad, package, or online promotion, it reinforces the same message at the shelf. That consistency can build recognition and make the brand feel more dependable.
Still, consistency does not mean using the same crowded design everywhere. A display must work within its specific aisle, lighting, viewing distance, and available space. Use recognizable brand elements, then give the key product and message enough room to stand out. A clean presentation makes it easier for shoppers to connect the display with the brand and understand what the product offers.
Choose Retail Display Formats That Fit Your Campaign
The right retail display format connects a campaign goal with the product, store, and way shoppers move through the space. A small checkout item needs a different setup than a bulk promotion, so choose for function before adding decorative details.
Match counters, floor stands, endcaps, and shelf units to the job
Counter displays put small, easy-to-grab products near checkout or service areas, where shoppers may make a quick impulse purchase. Floor stands give a featured product more room and visibility, while pallet displays suit larger quantities and high-volume promotions. Endcaps put products at the end of an aisle, where shoppers can see them while entering or leaving the category.
For a more targeted placement, shelf trays keep products organized beside related items, and sidekicks attach to shelving to show complementary or add-on products. These formats use existing shelf space, but they need retailer approval and must fit the fixture and product weight.
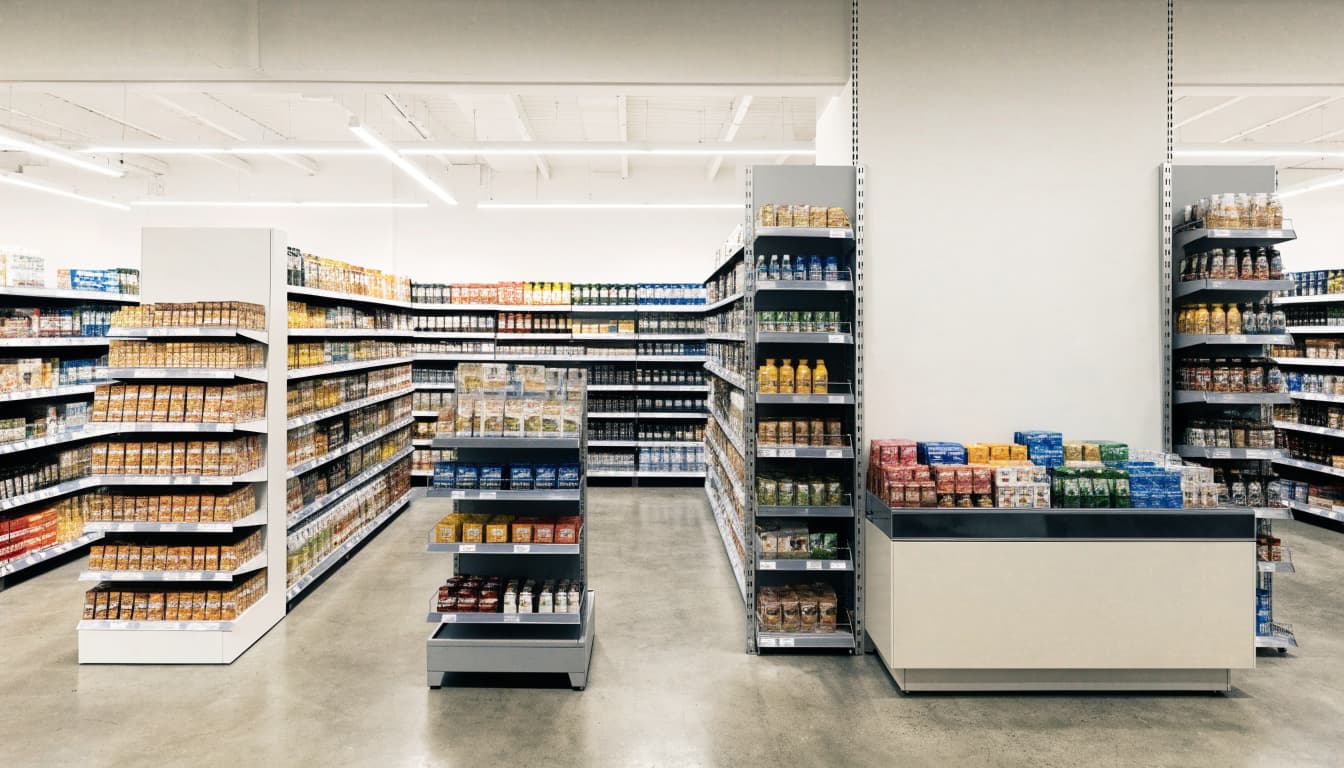
Before choosing, check retailer rules, available floor or shelf space, product dimensions, and campaign length. A short promotion may call for a simple unit that is quick to set up and remove. A longer campaign may justify a sturdier format with room for regular restocking. Planning POP and POS retail display packaging alongside the format can help keep the product presentation practical for store teams.
Design around the shopper and the store
Start with one clear goal, such as encouraging product trial, introducing a new item, or supporting a seasonal offer. That goal should guide what shoppers notice first and how easily they can pick up the product. For instance, a checkout unit for travel-size skin care should show the items clearly and keep them within comfortable reach.
Then assess the actual store conditions. Sight lines determine how tall or wide a display can be before it disappears behind fixtures. Aisle width and shopper flow affect the footprint, while lighting influences color and graphic contrast. Product reach, stock capacity, and restocking access also matter, especially for busy locations where staff have limited time to maintain displays.
A compact, straightforward unit can outperform an elaborate structure if it fits the space, stays stocked, and is easy to shop. Keep the message brief and the product visible. Store associates should be able to set up and replenish the display without special tools or complicated instructions.
Add digital features only when they help the shopper
Digital features work best as useful extensions of the physical display. A QR code can lead to a short product demo, detailed product information, a coupon, or a simple how-to. Augmented reality may help shoppers preview or explore a product, while a dynamic screen can show a brief demonstration when the location and viewing conditions support it.
RFID is more useful for inventory tracking and replenishment than for shopper interaction. In each case, the technology should solve a real problem. If a shopper needs more detail than the display can hold, a QR code may help. If the message is already clear at a glance, an extra feature may only add friction.
Keep the interaction quick, accessible, and aligned with the campaign’s main message. A shopper should understand the offer without needing to scan, wait, or navigate a complicated experience.
Plan Store-Ready Displays That Work Beyond the Design Stage
A display has to survive more than a design review. It must protect products in transit, arrive complete, fit retailer requirements, and stay easy to shop and restock. Planning those operational details early helps carry the campaign from production to the sales floor intact.
Test the full display with real products before launch
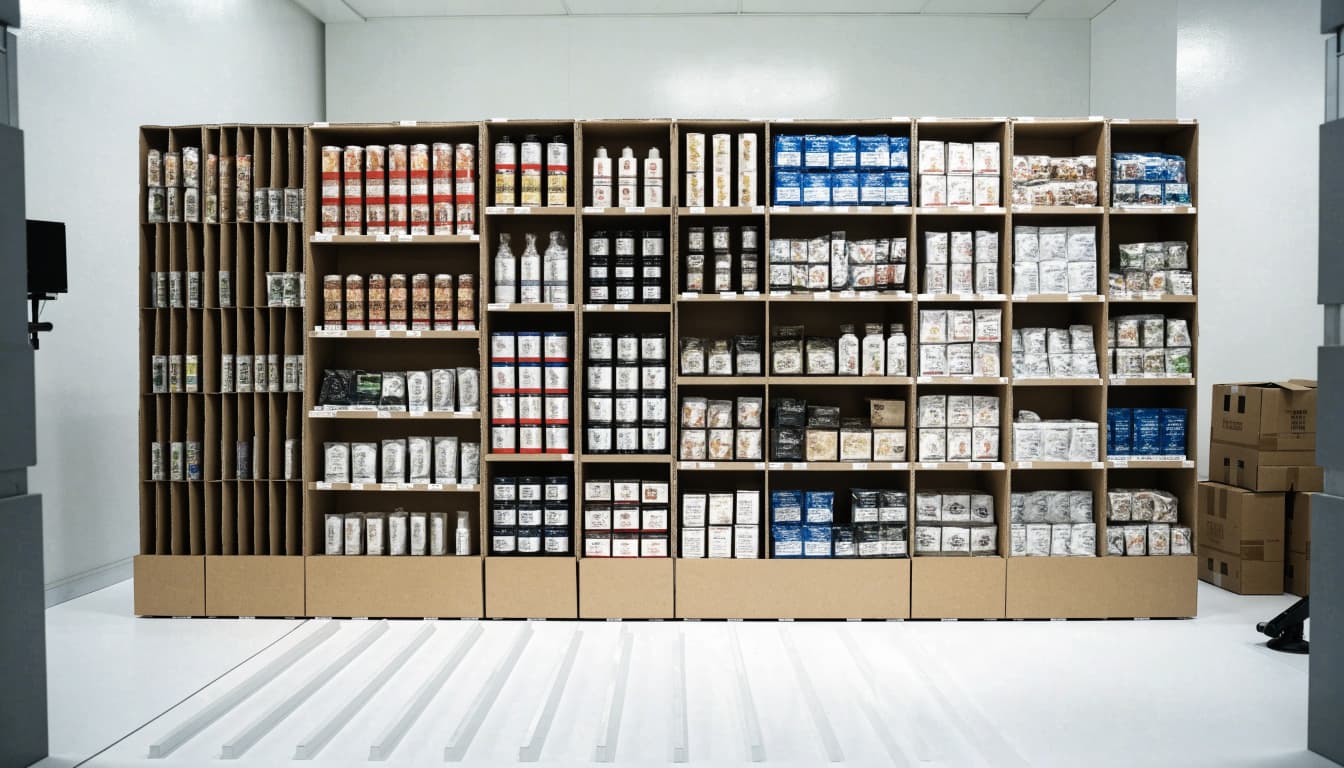
Build a full-size prototype and load it with the actual products, packaging, and inserts. A display that looks sturdy when empty may sag under a full load, hide key graphics, or leave products difficult to reach. Check its stability, capacity, visibility, and access from the angles shoppers and store staff will use.
Then test the complete shipping configuration. Simulate vibration, stacking, and drops that reflect the intended route and packaging. Check whether repeated restocking loosens tabs or weakens shelves, and whether normal shopper contact shifts products or damages graphics. These checks can expose weak connections, crushed corners, unstable product placement, and packaging that fails to protect the display.
The build should suit its format and handling. A shelf shipper needs to open cleanly and move onto a shelf with little setup. A pallet display needs stronger support and secure packing because it may carry heavier loads and move through stores on a pallet jack. Test the display as store teams will receive and use it, not only as it appears in a product photo.
Make setup, stocking, and compliance easy for store teams
Even a well-built display can miss its launch if assembly takes too long or instructions leave room for guesswork. Use clear, picture-based steps, numbered components, and sturdy tabs or slots that fit together without specialized tools. Simple opening steps help staff move the unit from its shipping configuration to the sales floor quickly.
Before shipment, confirm that each display has the correct product quantities, graphics, inserts, and shipping materials. Verify that labels and barcodes are readable and that the final arrangement matches the approved plan. If a display contains multiple products, check the pack-out order so each item appears in the right location.
Store readiness continues after setup. Products should remain visible and easy to reach as shoppers remove them, and staff should be able to replenish the display without dismantling it. A neat, easy-to-stock unit has a better chance of staying presentable beyond its first day on the floor.
Coordinate assembly, fulfillment, and retail requirements
Production planning should connect the display design to the actual work: sourcing components, assembling the structure, loading products, checking counts, and preparing each unit for shipment. When teams coordinate these steps, they can reduce extra handling and catch missing or incorrect components before a shipment leaves the facility. POS and POP display assembly services can support product loading and preparation for store placement.
Confirm retailer-specific rules and channel requirements early. Retailers may set limits for dimensions, labeling, barcodes, pallet configuration, or how displays arrive and open. A format that works for one chain or distribution channel may need changes for another, so document requirements before production begins.
Finally, align fulfillment dates, quantities, and shipping plans with the launch schedule. Final quality checks should confirm that displays are complete, protected, and packed in the approved configuration. Coordinated retail distribution and store preparation helps reduce late or incomplete store sets, while giving each location a more consistent presentation.
Measure Whether Your Retail Display Strategy Is Working
A display’s impact is easier to judge when you define its goal and baseline before launch. Choose two or three measures that match the campaign, then review sales results alongside store execution. That gives you a clearer answer than sales data alone, which can’t explain whether shoppers saw the display or whether stores set it up as planned.
Track sales lift, sell-through, and basket impact
Start by recording the campaign objective, the stores involved, and the period you’ll measure. For a new-product trial, unit sales may be the main outcome. For a cross-sell display, average transaction value or units per transaction can show whether shoppers added more to their baskets.
To estimate lift, compare unit sales in display stores with sales in similar control stores that don’t have the display. Use the same dates and, where possible, account for differences in store size or past sales. A pre-campaign baseline also helps show whether sales changed after launch, rather than simply reflecting differences between locations.
Sell-through measures the share of available units that sold during the campaign. Calculate it by dividing units sold by units available, then multiplying by 100. Review the result with stock availability: an out-of-stock can limit sales even when shopper demand is strong.
For a fair comparison, use like-for-like stores and time periods. Adjust for promotions, price changes, seasonal demand, and local events; a holiday week is a poor match for an ordinary week. If the offer changed during the campaign, record when and where. Otherwise, the display may get credit or blame for factors outside its influence.
Check placement, compliance, and days on the floor
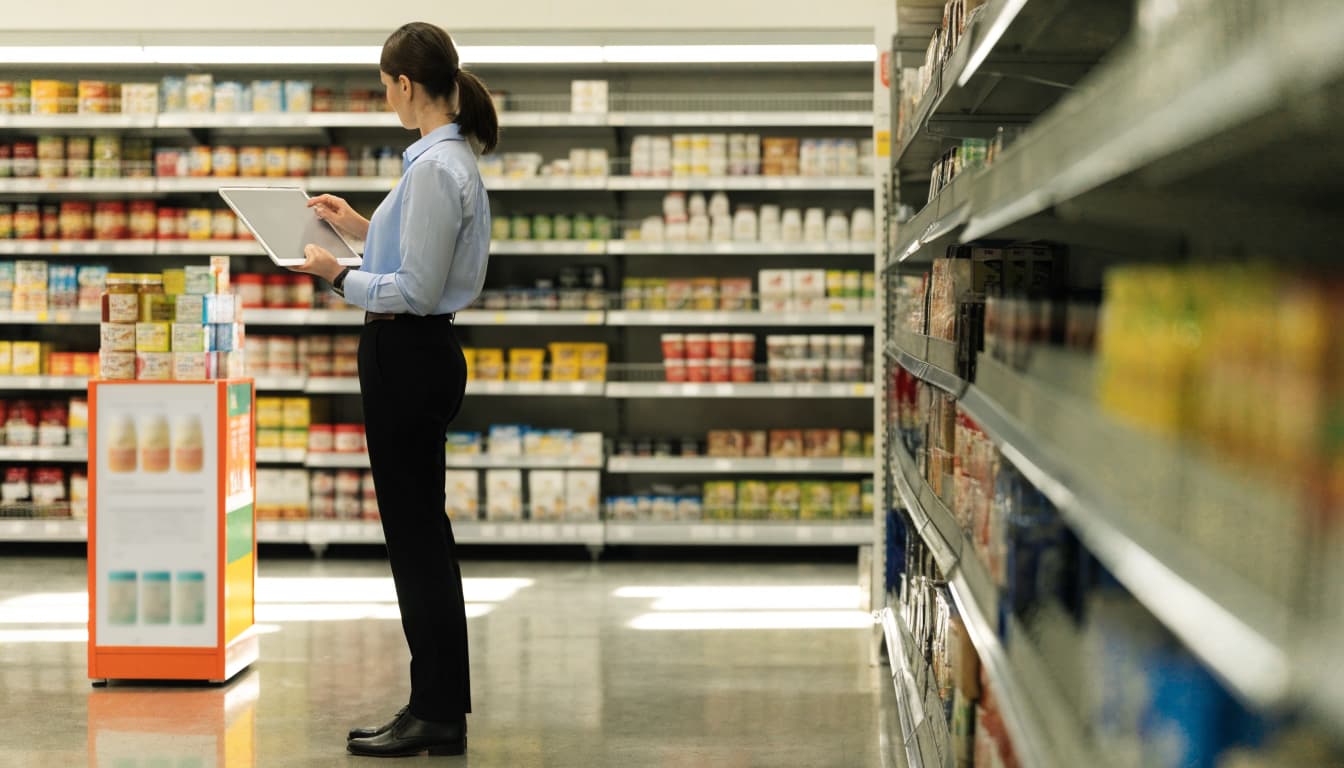
Sales results tell only part of the story. Track the share of shipped displays built and placed on time, whether they appeared in the intended locations, and how many days each stayed available to shoppers. Also note whether units remained stocked, clean, and presentable.
Store photos can confirm what a sales report can’t. Ask field teams to capture the display on its first day, midway through the promotion, and near the end. Those images may reveal a blocked header, a display moved out of the planned location, or products that ran out well before the campaign finished.
Brief feedback from store managers and field reps adds useful context. Ask whether setup was straightforward, shoppers interacted with the display, or restocking caused problems. Record simple observations, such as setup time or damage, and compare them with sales and compliance data. For programs involving multiple locations, retail distribution and fulfillment services can help coordinate shipments, while store-level checks show whether units made it onto the floor as planned.
Use each campaign to improve the next one
After each campaign, summarize the results in a short shared recap. Note what worked by retailer, store format, and campaign goal. Include the placement, message, display durability, setup time, and restocking experience, then capture what the team should repeat or change.
A small pilot can test a display structure or message before a wider rollout. Compare participating stores with suitable controls, and use store feedback to spot practical issues early. Keep the findings in a simple playbook that marketing, sales, and operations can use for future briefs.
Over time, those records help teams make better choices about formats, materials, and budgets. They also prevent repeated setup problems. A display that lifts sales but takes too long to build may need a simpler structure; one that stays in place and sells through quickly may merit a broader rollout.
Frequently Asked Questions
Retail display planning often raises practical questions that don’t fit neatly into a campaign brief. These answers cover terminology, timing, cost, and material choices.
What is the difference between POS and POP displays?
The terms point of purchase (POP) and point of sale (POS) describe closely related in-store marketing displays, and retailers or suppliers may use them interchangeably. POP often refers to a display near a product decision, such as an endcap or floor stand, while POS more often means a display near checkout or payment. Check the retailer’s terminology before finalizing specifications.
How long should a retail display campaign run?
The right run time depends on the offer, available inventory, retailer plan, and how often shoppers buy the product. A brief seasonal promotion may need a shorter window than a campaign supporting a product with a longer buying cycle. Set a planned start and end date, then track actual days on the sales floor and stock levels, since a display that arrives late or runs empty cannot deliver its full opportunity.
Are custom retail displays worth the cost?
A custom display can make sense when its expected sales impact, reusability, and store execution justify the full program cost. Include design and production, shipping, assembly, and any retailer-specific requirements in your estimate, rather than judging the investment by design cost alone. Then compare those costs with measurable results, such as sales lift, sell-through, or labor saved through floor-ready delivery.
How can small brands use retail displays with a limited budget?
Start with one campaign goal, such as introducing a product or encouraging trial, and choose a compact format that fits the stores you want to reach. Keep graphics concise, test the display in a small number of suitable locations, and use sales and store feedback to decide whether to expand. A simple structure and reusable components can control costs without hiding the product or weakening visibility.
What makes a retail display sustainable?
Sustainability depends on the display’s materials, size, useful life, and end-of-life plan. Choose recycled or recyclable materials where suitable, reduce unnecessary components, and design for reuse or straightforward separation; a recyclable label alone doesn’t guarantee that local facilities can process the material. The structure still needs to protect products, withstand handling, and meet retailer requirements, so test material choices before rollout.
Conclusion
Retail displays strengthen a marketing strategy when the message, shopper, placement, and format fit together. Set a measurable goal, test the display with real products, and review sales alongside photos and store compliance checks. Those results can show what to refine before the next rollout.
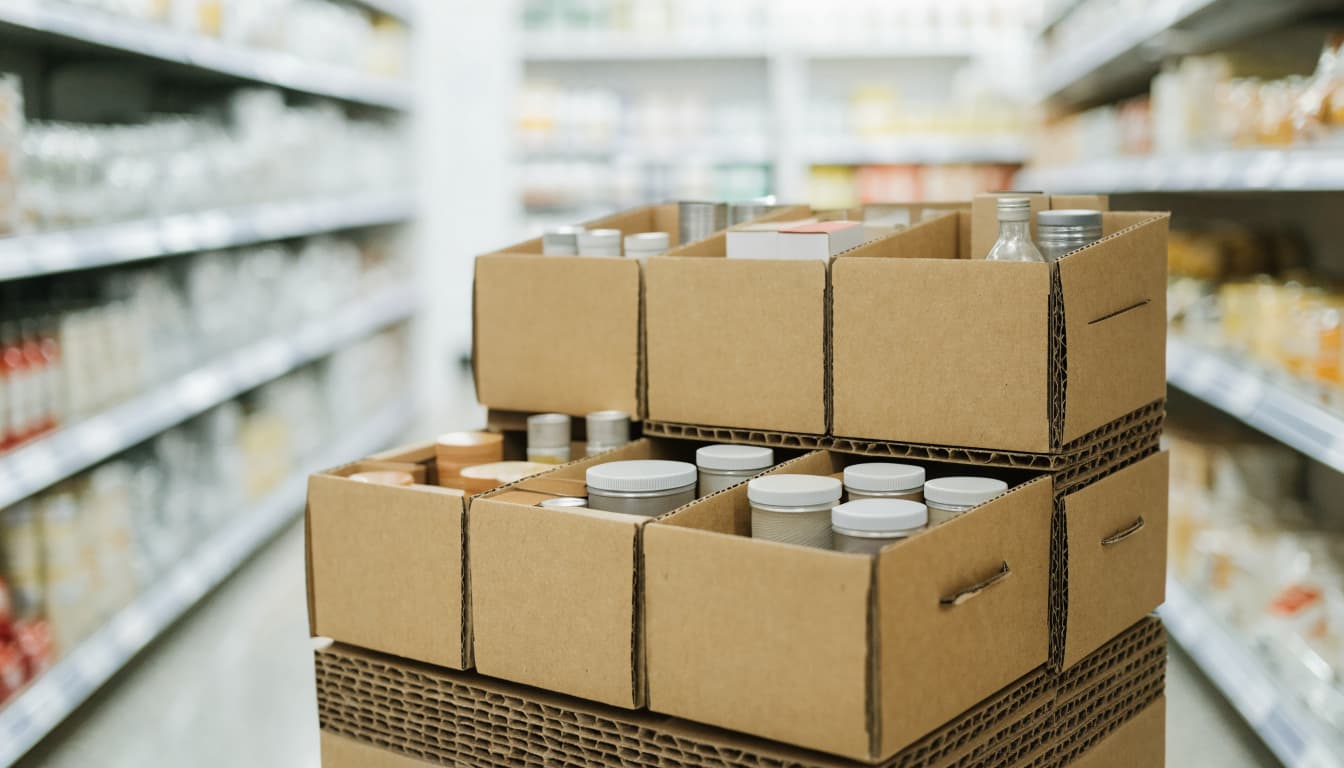
Execution matters as much as design. A display that arrives complete, easy to place, and ready to stock gives store teams a better chance to present the campaign as planned. For programs that need coordinated preparation, club store display assembly and fulfillment can support the path from packaged products to retail-ready displays.
